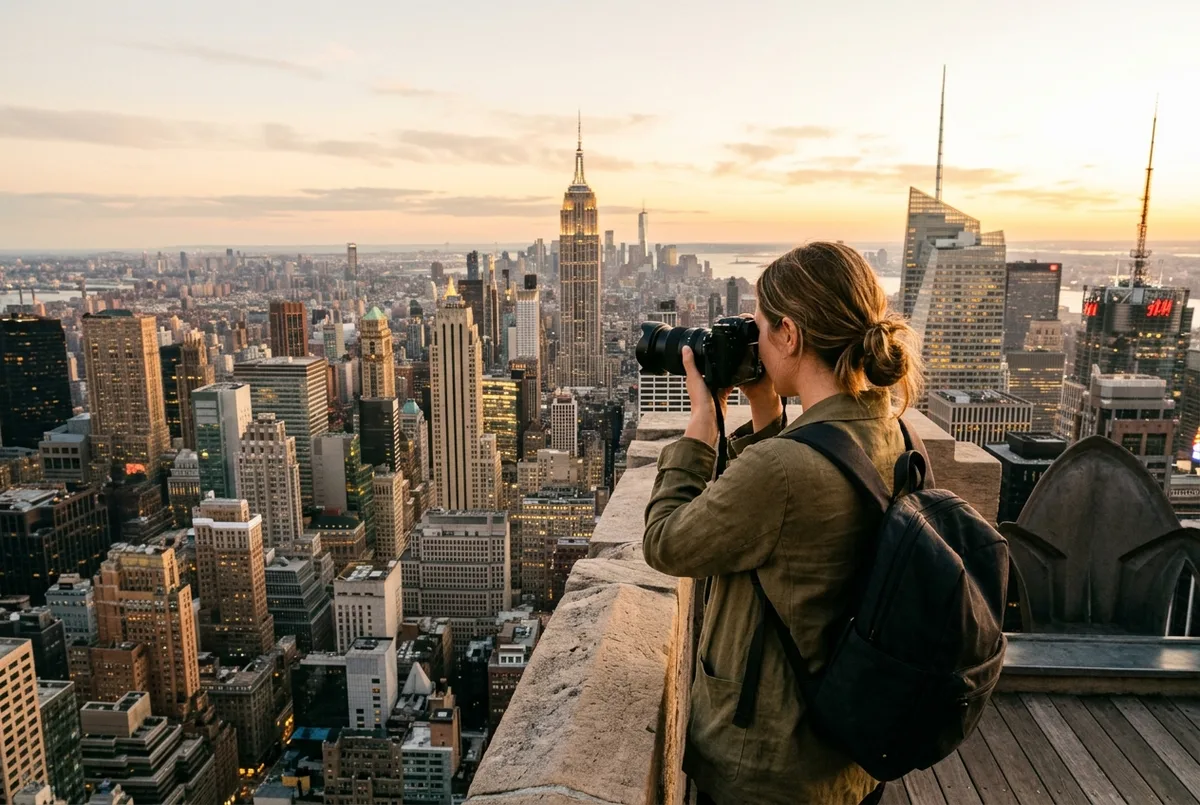
Top of the Rock photos come out best from the open-air 70th floor, where there is no glass between your lens and the skyline at all. My honest opinion is that most disappointing photos from this deck trace back to one mistake: shooting through glass on a lower floor instead of walking up to the fully open level first.
Here is what I would actually do: plan your visit around a sunset or night slot if photos matter to you, and budget extra time specifically for moving between floors rather than planting yourself at the first railing. If you have not booked yet, compare all six Top of the Rock tickets and tours first, since timing your slot is the biggest photo decision you will make before you even arrive.
Which floor gives the best photos?
The 70th floor at the top is the fully open-air, 360-degree deck, and it is where most of the widest, unobstructed skyline shots come from. The 67th and 69th floors mix indoor glass sections with outdoor terraces, which works for some angles but introduces reflections on others.
I would start at the 67th floor for context shots, then save your real effort for the 70th floor once you get there. My floors, Beam and SkyLift guide breaks down what each level actually offers if you want the full picture before you go.
How do you avoid glass glare and reflections?
Get your lens as close to the glass as possible without touching it, and angle slightly downward rather than straight on, which cuts most of the reflected light from the deck’s own interior. A lens hood or even a cupped hand around your phone camera helps more than people expect.
My honest tip is to skip the glass sections entirely if the open-air floor is available and the weather allows it. Reflections are a solvable problem, but avoiding them outright is still easier than fixing them after the fact.
What camera or phone settings actually help here?
A slightly faster shutter speed helps on windy open-air floors, since even a small amount of camera shake shows up at this focal distance. For phones, turning off the flash and using the native wide-angle lens, if your device has one, captures more of the skyline in one frame.
I would avoid heavy digital zoom entirely. Walking closer to the railing or waiting for a clearer angle almost always beats zooming in digitally, which loses detail fast on most phone cameras.
Is sunset really the best time to shoot?
Sunset gives you the most dramatic light of the day, with warm tones across the skyline and a visible transition from day to night if you stay through it. It also draws the busiest crowd of the day, so photo spots at the railing fill up fast.
My honest recommendation is sunset if you are willing to work around other photographers for position, and early morning if you would rather have the railing to yourself with softer, cooler light instead. My best time to visit guide covers the full tradeoff between light and crowds.
What does the view look like at night for photos?
After sunset, the skyline shifts from a lit, warm daylight scene to a fully illuminated cityscape, including the Empire State Building glowing across the park. Night shots trade daylight clarity for a completely different, more dramatic mood.
I think night photos are genuinely underrated here. My Top of the Rock at night guide goes deeper into what the after-dark view involves if that mood appeals to you more than a daytime shot.
Where should you stand for the classic Empire State Building shot?
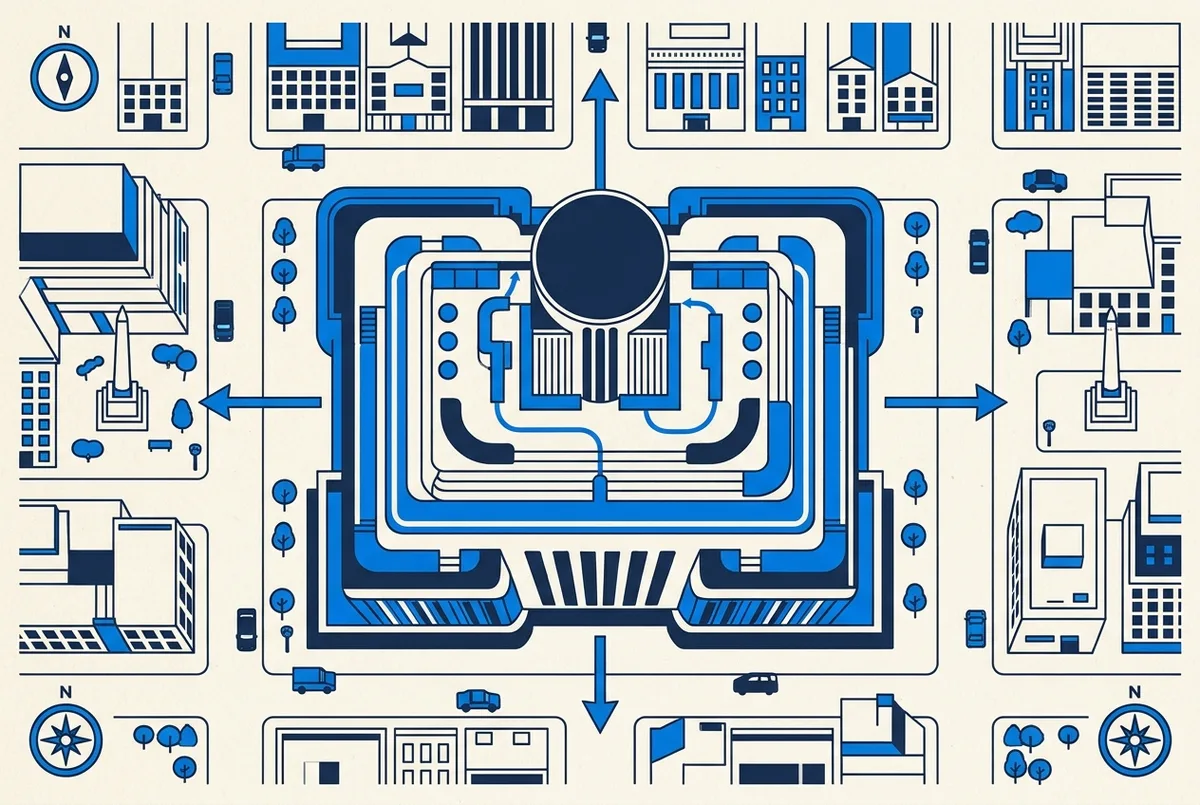
Face south from the 70th floor’s open-air deck, where the Empire State Building sits roughly centered in the frame against the rest of Midtown and Lower Manhattan behind it. This is the single most photographed angle from this observatory, and for good reason.
My honest comparison here: this is the one shot the Empire State Building’s own deck simply cannot offer, since you cannot photograph a building from inside itself. My Top of the Rock vs Empire State Building guide covers this exact tradeoff if you are deciding between the two decks partly on photos alone.
Are there good photo spots that are not from the top floor?
Yes. The 67th floor’s terraces give you a lower, slightly different angle on Central Park to the north, and the glass-enclosed sections work fine for portrait-style shots where the skyline is softly blurred behind your subject rather than the main focus.
I would not skip the lower floors just because the 70th floor gets more attention online. Some of the more interesting compositions I would point travelers toward actually come from mixing a lower-floor portrait with a top-floor wide shot in the same visit.
Is The Beam Experience worth it just for the photo?
Only if that one specific image, recreating the 1932 “Lunch Atop a Skyscraper” photo on a rotating 12-foot beam, is genuinely the reason you are visiting. It is a paid add-on, not part of standard admission, with a 42-inch minimum height requirement for anyone riding with an adult.
My honest take is that it is a fun novelty shot rather than a skyline photo, and I would treat it as a separate decision from your main photography plan for the deck.
Does weather ruin the photos?
A fully overcast, low-visibility day will flatten your shots and hide distant landmarks, but ordinary clouds or light haze still leave you with a workable skyline and often more interesting, moody light than a flat blue sky. Open-air terraces can close temporarily in severe weather for safety.
I would not cancel a shoot over an average cloudy forecast. My weather and cloudy days guide covers the realistic odds and how to plan around a less than perfect forecast.
Should you bring a tripod or other gear?
A full-size tripod is impractical on a crowded terrace and can genuinely get in other visitors’ way, so I would leave it behind. A small, flexible phone mount or a lightweight monopod is a more realistic middle ground if you want extra stability without blocking the railing for everyone else.
My honest advice is to prioritize mobility over gear here. The deck rewards moving between floors and angles more than it rewards a single, perfectly stabilized shot from one fixed spot, so a bulky setup usually costs you more in flexibility than it gives back in sharpness.
Does the guided or app-guided ticket help with photos?
The app-guided ticket specifically points you toward strong vantage points on each floor rather than leaving you to guess, which can save real time if photography is your main goal. A live guided tour spends less time on photo positioning and more on history and architecture, so it is a weaker fit if pictures are the priority.
I would pick the app-guided option over a live guide specifically for a photo-focused visit, since moving at your own pace between the suggested spots works better than waiting on a group’s schedule. The standard ticket works just as well if you already know where you want to shoot from.
My recommendation
Book a sunset or night slot if a dramatic photo matters to you, head straight for the 70th floor’s open-air deck, and treat the lower floors as a bonus rather than your main shoot. I would skip heavy digital zoom and lean on getting physically closer to the railing instead. Compare every Top of the Rock ticket option before you pick your slot, and the Top of the Rock official site has the current calendar for your travel dates.
Frequently asked questions
Which floor at Top of the Rock has the best photos?
The 70th floor’s fully open-air deck, since it has no glass between you and the skyline at all.
How do I avoid reflections in my Top of the Rock photos?
Get your lens close to the glass and angle slightly downward, or use the open-air 70th floor instead where reflections are not a factor at all.
Is sunset the best time for Top of the Rock photos?
It gives the most dramatic light but also the busiest crowd. Early morning offers softer light with fewer people in your shot.
Do I need a professional camera for good photos here?
No. A phone camera handles this well if you avoid heavy digital zoom and get as close to the open railing as you can.
Book your Top of the Rock ticket and pick the slot that matches the photos you actually want.